


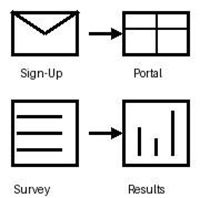
In this article, the steps from receiving the invitation e-mail to creating a questionnaire, completing the answers, and viewing the reports are described. Links to additional details, where available, are provided within the respective steps.
If any terms are unclear, they are explained in the glossary, which provides definitions for many of the words used throughout the system.
Step 1: Registration
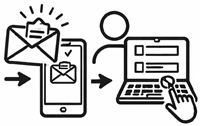
The first step is registration, which can be completed by following the instructions provided in the invitation e-mail. Both the e-mail and the registration process are designed to be self-explanatory. Once registration has been completed, access to the system is granted, allowing the user to log on and begin using the software.
Step 2: Entering the project portal
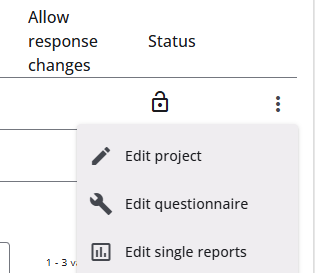
After a successful logon, the projects portal is displayed. Each questionnaire is linked to exactly one project.
If no projects have been defined, the Add Project button can be used. A new window is then opened, allowing the name, description, and other details to be entered. Once a project has been created, or if projects already exist, open the three-dotted menu on the right-hand side of the project and click Edit Questionnaire to open the questionnaire.
Step 3: Edit the questionnaire
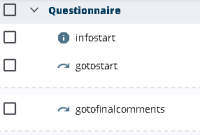
Each new questionnaire is initially created with a few questions, allowing a quick test and the addition of more questions later.
More information about editing the questionnaire can be here.
Step 4: Defining the language(s)
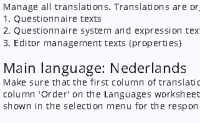
A new questionnaire is created with only one language—usually Dutch (Nederlands). All buttons and labels are displayed in that language, and if only one language is defined, the question text shown to respondents is matched to what is visible in the Survey Editor.
The steps for adding additional languages and changing the default language are described here.
Step 5: Publish the questionnaire
Before it can be filled in, the questionnaire must be published and opened. Pressing the Publish Questionnaire button creates a published version, which is required to open the project.
More information about questionnaire versions can be found here.
Step 6: Open the project
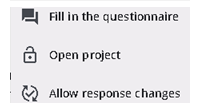
The project can be opened in the Projects Portal via the Open project menu item. After opening, the project can also be closed, making it easy to stop respondents from continuing or submitting the questionnaire.
Step 7: Create samples
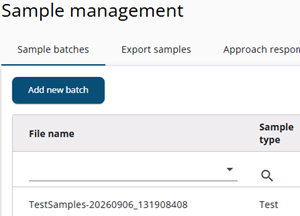
Filling in the questionnaire requires a sample. Each sample is assigned a start code, which is used to access and fill in the questionnaire.
Samples are created in the Survey Admin module, where the Sample Management is part of and can be accessed via the squared menu at the top right of the screen, or via the three dotted menu options menu in the Projects portal.
The Add Batch option in the Sample management can then be used to upload the samples. This process is described into more detail here.
Step 8: Test/Fill in the questionnaire
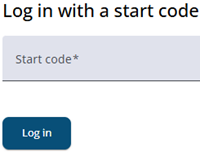
Once sample data has been created, the questionnaire can be opened to review how it will appear to respondents and to check how the questions are displayed on screen.
The questionnaire can be accessed either by selecting Fill in questionnaire from the three-dot menu of the project in the Project Portal, or by clicking the Fill in questionnaire icon in the top-right corner of the Survey Editor.
In both cases, the Survey Response module is opened and the Start code field is displayed. After a valid start code has been entered, the questionnaire is loaded and can be completed.
Step 9: Inviting respondents
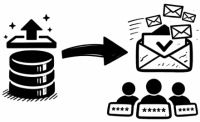
After the questionnaire has been tested and approved, respondents can be invited by e-mail. Each respondent is provided with a unique start code that can be used to complete the questionnaire. More information about inviting respondents is available here.
Step 10: The results
The results can be viewed either through a Single Report or the Response Overview.
Single Report
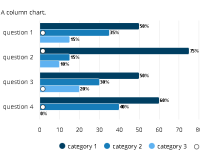
A Single report shows a respondent’s answers and related information using their start code.
More information on creating such a report can be found here.
Response overview
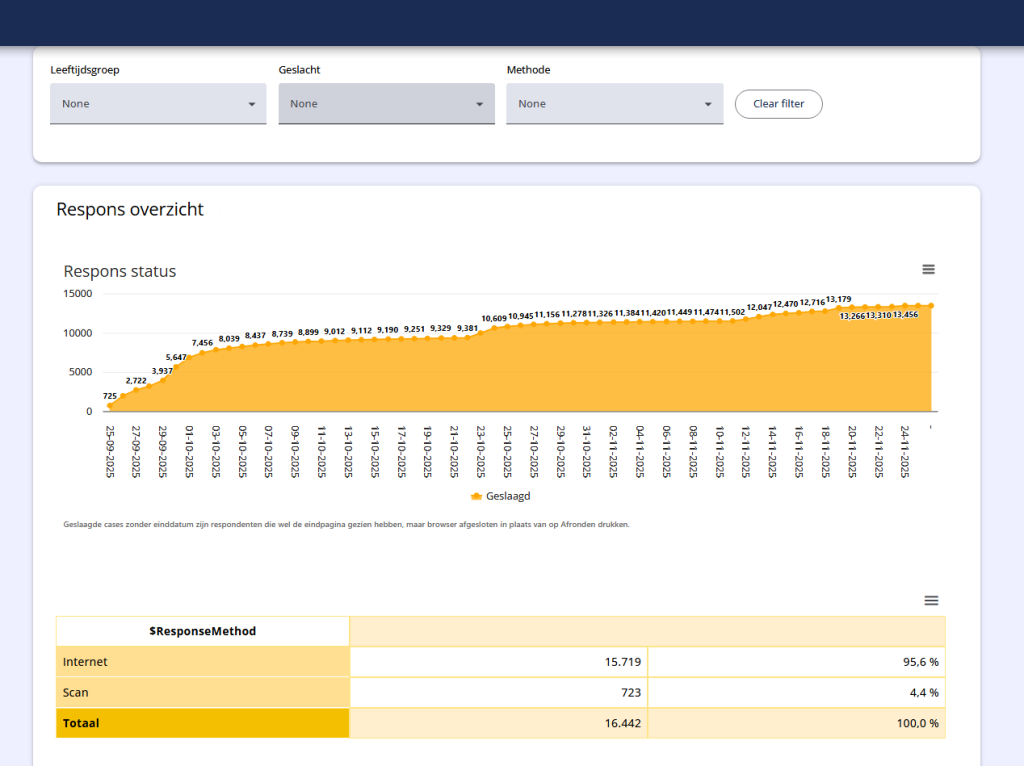
The Response overview allows the results of one or more questionnaires to be viewed.
More details on the module and report setup can be found here.