


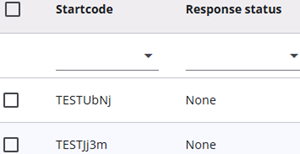
The Sample Management section of the Survey Admin module provides a range of functions related to samples and responses, includin adding and reloading samples.
This article describes the steps required to create new samples (including start codes).
Once samples have been created, respondents can be invited. An overview of the other functionalities within the Survey Admin module is available here.
Step 1: Create a sample file
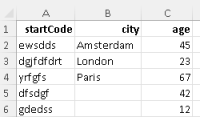
A sample file, which is always created as an Excel file, can be used to include information about respondents. For example, Gender or City can be added in separate columns when such information is available. It will then be automatically available when the respondent completes the questionnaire.
Some sample values like startCode en Email are “protected” and will be threated differently by the software. More information about these special sample values can be found here.
Step 2: Upload the sample file
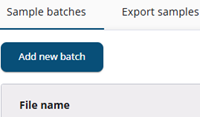
Samples are always organized in batches. The Add New Batch button opens a wizard for uploading an Excel file with samples. The process involves several steps, which are explained in detail in the first step. A brief overview of these steps is also provided below.
Step 2.1: Choose the file and sample type
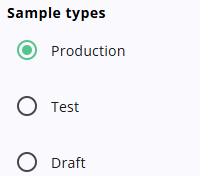
In this step, the file to be uploaded and the sample type must be selected.
Production samples are intended for respondents, while Test and Draft samples are used for testing purposes. More information about sample types and their interaction with questionnaire versions can be found here.
Step 2.2: Check the import
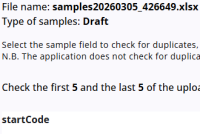
In the second step, the first and last rows of the sample file are displayed to provide an extra check for errors. If the wrong file was uploaded or some values are incorrect, the Previous step button can be used to go back. Once everything is correct, the Next step button advances to the following screen.
Step 2.3: Choose the private variables
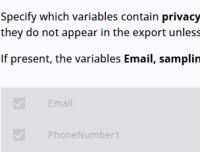
Private variables are privacy-sensitive, such as Email, and are not included in data exports or shown in the questionnaire. They are necessary for contacting respondents via email or SMS. Some values, like Email, are always treated as private and cannot be deselected from the list of variables. More information about special sample values can be found here.
Step 2.4: Choose the public variables
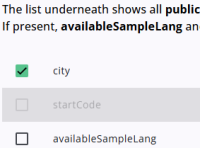
Some variables are only needed in the reports, and those who are needed there can be choosen here. The others are then questionnaire variables and available to be shown to the respondent.
A variable is either a Private variable, a Questionnaire variable or a Report variable.
Step 2.5: Settings
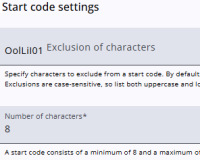
In the final step, the excluded characters and the length of the start codes can be specified. These settings are applied only when the Excel file does not contain a start code column.
Pressing the Save & finalize button completes the upload proces.
Step 3: Check the import
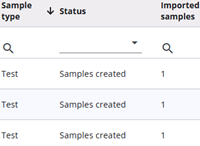
After the file has been uploaded, the Sample Batches screen is displayed again, showing the uploaded file in the table. The samples and imported samples can be reviewed here.
Individual samples can also be checked on the Export Samples tab.
In case of mistakes, the three-dot menu in the top-right corner provides several options. All batches can be removed if needed, the sample type of a single batch can be changed, or a batch can be reloaded to upload a corrected file. Please be careful, as some of these actions cannot be undone.
Step 4: Invite respondents
Respondents can be invited via email or SMS. The links below provide more information about each method.
 | Invite by email Learn how to invite respondents via email |
 | Invite by SMS Learn how to invite respondents via SMS |