


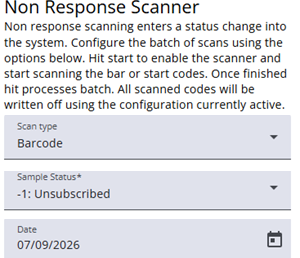
This screen is used to set up a scanning batch for paper non-responses, making it easy to track returned forms.
The scan type can be defined here, sample status after scanning, and scan date.
Once everything has been configured, scanning can be started by clicking Start scanning. After all papers have been scanned press Stop scanning and process the batch by clicking Process batch.
The status of the sample/response can be viewed in the Export samples tab under Sample management. Enable the Status reason column to display it.
The Response Overview module also provides the option to track counts and results. Select $StatusReason as the variable to display the different values.
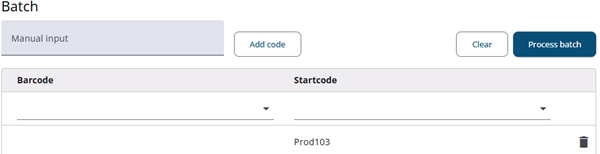
Codes can also be entered manually if needed. When a valid code is entered, it will automatically be added to the list of processed entries.
Note: The Sample status can be managed at the tab Sample Statuses.