


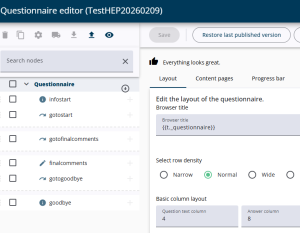
This article explains the basic steps required to create and run a questionnaire in IT5.
It covers creating a project, editing the questionnaire in the Survey Editor, publishing and opening the project, creating samples, and testing the questionnaire as respondents will see it.
Step 1: Create a project
After a successful login, the project portal is displayed and a list of available projects (if any) is shown. Each project contains exactly one questionnaire. To begin, a project must be created by selecting the Add project button. A clear and logical project name should be entered to ensure easy identification when multiple projects are created. Once the project has been created, click the three-dot menu at the right hand side and choose Edit questionnaire..

Step 2: Edit the questionnaire
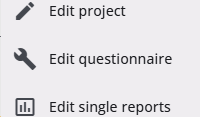
A new or existing project can be opened by clicking the three-dot menu on the right side of the project list.
From the menu that appears, selecting Edit Questionnaire opens the questionnaire.
Step 3: Adding questions
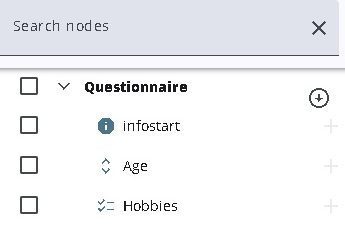
Every newly created project includes an initial node tree—a tree-shaped structure containing questions and other nodes—with some basic introduction texts and questions.
New nodes can be added by clicking the + icon next to an existing node and inserting before, after, or underneath it.
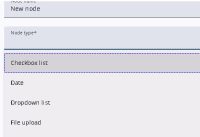
Each node must be assigned a type, such as a checkbox list, text area, or node info. The type is selected from the Node type dropdown and cannot be changed later.
More information about the different node types can be found here.
Nodes can also be created through imports. They can be moved or deleted as needed, and all of these actions are explained in more detail here.
Note that a warning will appear if there are unsaved changes and the browser is accidentally refreshed or the user navigates away from the page.
Step 4: Publish the questionnaire
Before it can be filled in, the questionnaire must be published and opened. Pressing the Publish Questionnaire button creates a published version, which is required to open the project.
More information about questionnaire versions can be found here.
Step 5: Open the project
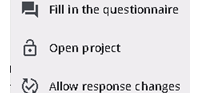
The project can be opened in the Projects Portal via the Open project menu item. After opening, the project can also be closed, making it easy to stop respondents from continuing or submitting the questionnaire.
Step 6: Create samples
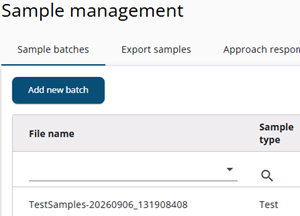
Filling in the questionnaire requires a sample. Each sample is assigned a start code, which is used to access and fill in the questionnaire.
Samples are created in the Survey Admin module, where the Sample Management is part of and can be accessed via the squared menu at the top right of the screen, and via the three dotted menu options menu in the Projects portal.
The Add Batch option can then be used to upload the samples. This process is described into more detail here.
Step 7: Test/fill in the questionnaire
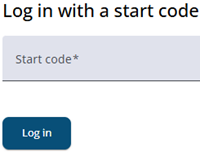
Once samples have been created, the questionnaire can be opened to review how it will appear to respondents and to check how the questions are displayed on screen.
The questionnaire can be accessed either by selecting Fill in questionnaire from the three-dot menu of the project in the Project Portal, or by clicking the Fill in questionnaire icon in the top-right corner of the Survey Editor.
In both cases, the Survey response module is opened and the Start code field is displayed. After a valid start code has been entered, the questionnaire is loaded and can be completed.
On the final page, a message is shown indicating that the end of the questionnaire has been reached and that the browser may be closed.