


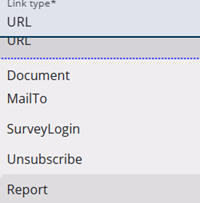
On the final page of the questionnaire, a link to a single report can be placed to automatically redirect the respondent. Different links can be provided depending on sample values or given answers, but automatic redirection is only possible when one link is visible.
This article explains how to set up such a link and how to create multiple link options.
Step 1: Configure redirecting
The Layout tab of the questionnaire allows a delay to be set for automatic redirection after completion. If the field is left empty, or set to 0, redirection will not occur.
Step 2: Set up a link
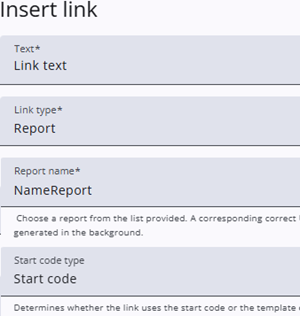
Adding a link on the last node of a questionnaire is straightforward. The link is inserted into the text of the last visible node, which is usually an info node containing instructions or information, but a text box or text area can also be used.
To create the link, the anchor icon in the rich text editor is clicked.
A window is opened where the link text can be entered and Report should be selected from the Link type dropdown. The report name can then be chosen from the dropdown that appears.
When a batch of samples is uploaded, the start code can be specified as either a normal start code or a template start code by selecting the appropriate value in the Start code type dropdown.
The other options, such as Target and Type of Link, are self-explanatory. After Confirm is pressed, the link is added to the text.
Links can be modified after creation by selecting the link text and clicking the anchor icon again.
Step 3 (optional): Different links
In some cases, different links are required for different groups, depending on sample values or responses. This can be achieved in two ways.
Multiple links can be displayed on the last page, for example to different reports, allowing the respondent to click and access the desired report, but automatic redirection does not occur when more than one link is shown.
Step 3.1: Different nodes
If different groups require different final texts or links, a straightforward approach is to create multiple nodes, each with the appropriate text and link, and use expressions to display the correct node for each group.
Step 3.2: Using variables
A more advanced approach for using different links is to build the link with a variable and expressions. This method also allows additional parameters to be added easily.