


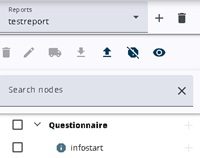
This article provides a step-by-step guide on creating single reports that can be shown to respondents after completing a questionnaire. Such reports can include recommendations or performance information. The process of creating a report is straightforward and closely resembles the Survey Editor, allowing nodes, question groups, and ranges to be synchronized and customized as needed.
Step 1: Creating a report
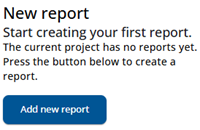
If no reports have been created yet, a message is displayed indicating that a new report can be added. Click the button shown in the image to create a new report for the selected project.
A window will appear prompting a name to be entered for the new report. After a valid name has been entered and the Confirm button clicked, the report will be created.
Step 2: Synchronizing nodes
The report is created by converting the nodes from the questionnaire into report nodes. For most nodes, this is a straightforward process. However, there are some special cases.
Step 2.1: Synchronize ranges and groups
If ranges or question groups are present in the questionnaire, they can be synchronized using an alternative method. They can also be arranged in a grid to provide a clearer layout.

Step 2.2: Synchronize private questions
For security reasons private questions are not shown in the reports as they need to be threatened with care.

Step 2.3: The report
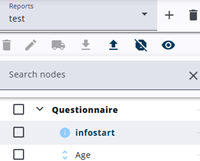
The software copies all the relevant nodes – not Goto statements, and not private questions – and creates a tree structure.
This looks very similar to the Survey Editor: clicking a node in the tree allows the user to update the properties of that node. Adding nodes and opening the report also work in a very similar way.
It should be noted that the languages of the report are defined by the questionnaire; no extra languages can be added. However, it is possible to exclude one or more languages in the Translations tab of the Report node.
Step 3: Adding nodes
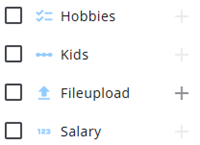
The report is created using nodes from the questionnaire, but these nodes only display the answers as text.
A single report also offers options to add charts and other report-specific nodes. However, these must be added and configured manually.
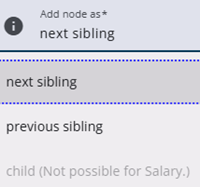
New nodes can be added by clicking the + icon next to an existing node and inserting before, after, or underneath it.
Pressing the Confirm button in the Add node dialog after entering a valid name and choosing a node type adds the node to the node tree.
Further configuration can be done by clicking the node.
Step 4: Test the report
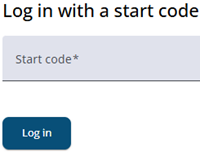
The report can be accessed by selecting the Open report icon in the top-right corner of the report editor.
A sample with a start code is required to open the report. For proper testing, the questionnaire must also be completed. It is also recommended to test with some start codes where not all questions have been answered.